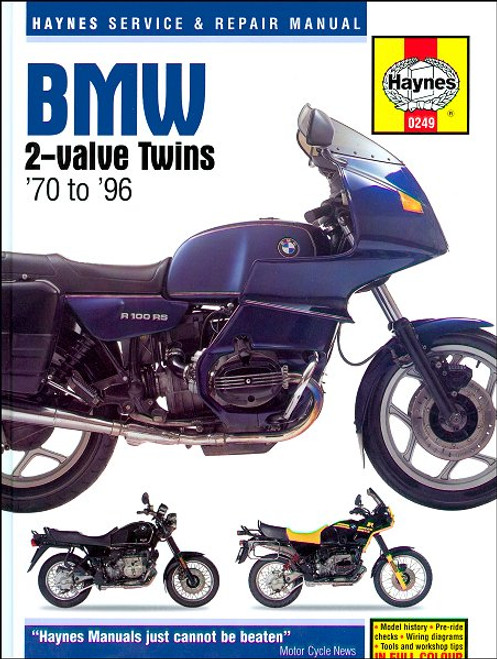
The 1970-1996 BMW R50, R60, R65, R75, R80, R90, R100, R100GS PD DIY repair manual by Clymer, covers R Series Boxer Twin models powered by 500-1000cc horizontally-opposed engines, with pushrod-operated valves, including:
Book Excerpt: 1970-1996 BMW R50, R60, R65, R75, R80, R90, R100, R100GS PD Repair Manual IMPACT PAD AUXILIARY SWITCH REPLACEMENT
FINAL DRIVE OIL LEVEL CHECK Inspect the final drive oil level at the interval listed in Table 1. If the bike has been run, allow it to cool down (at least 10 minutes), then check the final drive oil level. When checking the final drive oil level, do not allow any dirt or foreign matter to enter the case opening.
Subject: 1970, 1971, 1972, 1973, 1974, 1975, 1976, 1977, 1978, 1979, 1980, 1981, 1982, 1983, 1984, 1985, 1986, 1987, 1988, 1989, 1990, 1991, 1992, 1993, 1994, 1995, 1996 BMW R50, R60, R65, R75, R80, R90, R100, R100GS PD service, maintenance, repair. ISBN-10: 0892878541 | ISBN-13: 9780892878543 | Clymer M502-3
- BMW R50/5 1970-1973
- BMW R60/5 1970-1973
- BMW R60/6 1973-1976
- BMW R60/7 1976-1978
- BMW R65 1978-1985
- BMW R65/85 1985-1987
- BMW R65LS 1982-1985
- BMW R75/5 1970-1973
- BMW R75/6 1973-1976
- BMW R75/7 1976-1977
- BMW R80/7 1978-1980
- BMW R80G/S 1980-1986
- BMW R80ST 1982-1984
- BMW R80RT 1982-1987
- BMW R80 1985-1987
- BMW R90/6 1973-1976
- BMW R90S 1973-1976
- BMW R100/7 1976-1979
- BMW R100RS 1977-1984, 1987-1993
- BMW R100RT 1976-1984, 1987-1995
- BMW R100T 1979-1980
- BMW R100 1981-1984, 1991
- BMW R100CS 1981-1984
- BMW R100GS 1988-1994
- BMW R100GS-PD (Paris Dakar) 1990-1996
Book Excerpt: 1970-1996 BMW R50, R60, R65, R75, R80, R90, R100, R100GS PD Repair Manual IMPACT PAD AUXILIARY SWITCH REPLACEMENT
- Disconnect the battery negative lead as described under Battery in Chapter Three.
- Remove the fuel tank as described in Chapter Seven. This is necessary to gain access to the switch electrical connections located on the frame under the fuel tank.
- Remove the screws (Figure 150) securing the impact pad.
- Partially pull up on the impact pad (Figure 151) and move it out of the way. Don't move the pad too far as there is very little slack in the electrical wires at this time.
- Follow the electrical wires from the impact pad back to their electrical connectors at the main wiring harness. If necessary, remove any tie wrap(s) securing the electrical wires to the frame.
- Pull the electrical wires away from the frame to allow slack in wires. Disconnect all electrical wires going to the impact pad electrical switches.
- Pull the impact pad up and away from the steering head area.
- Carefully pull all switch electrical wires out from in front of the steering stem and the frame.
- Remove the impact pad.
- Insert a narrow flat-bladed screwdriver into each locking tab of the switch. Push the tabs in toward the switch to release them from the impact pad.
FINAL DRIVE OIL LEVEL CHECK Inspect the final drive oil level at the interval listed in Table 1. If the bike has been run, allow it to cool down (at least 10 minutes), then check the final drive oil level. When checking the final drive oil level, do not allow any dirt or foreign matter to enter the case opening.
- Place the bike on the centerstand on level ground.
- Wipe the area around the oil filler cap clean.
- Unscrew the oil level/ filler plug (A, Figure 47). Or on models with a separate fill plug in the top of final drive (A, Figure 48), remove the oil level plug (B).
Subject: 1970, 1971, 1972, 1973, 1974, 1975, 1976, 1977, 1978, 1979, 1980, 1981, 1982, 1983, 1984, 1985, 1986, 1987, 1988, 1989, 1990, 1991, 1992, 1993, 1994, 1995, 1996 BMW R50, R60, R65, R75, R80, R90, R100, R100GS PD service, maintenance, repair. ISBN-10: 0892878541 | ISBN-13: 9780892878543 | Clymer M502-3
TABLE of CONTENTS:
- Tune-up and routine maintenance
- Engine
- Clutch
- Transmission, gearshift mechanisms, kickstarter
- Carburetors, emission controls and exhaust system
- Front suspenstion and steering
- Rear suspension and final drive
- Brakes
- Frame and body
- 1990 and later service information
- Wiring Diagrams
- Index


