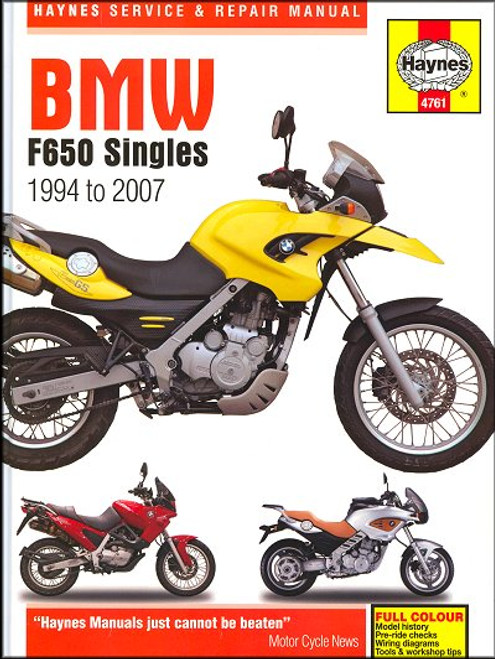
The 2006-2016 BMW F800, F700, F650 Twins repair manual by Haynes covers the following motorcycle models:
- BMW F800S 2006-2010
- BMW F800ST 2006-2012
- BMW F800GT 2013-2016
- BMW F650GS 2007-2012
- BMW F700GS 2013-2016
- BMW F800GS 2007-2016
- BMW F800GS Adventure 2013-2016
- BMW F800R 2009-2016
Regardless of model titles, the F800, F700 and the F650 use the same 798cc engine and the same frame. F700 / F650 models are, however, detuned, thus producing less horsepower. Some frame components also differ from F800 models. This is the manual motorcycle owners need for tips on the procedure for changing brake fluid on the BMW F650GS 2007. The Haynes service and repair manuals for engine rebuild data also cover maintenance, repair and overhaul while serving as a handy reference for security, storage and troubleshooting. Get the F800ST manual with free shipping (to the 48 continental United States) when you order from The Motor Bookstore. Your order will usually ship the same business day.
Book Excerpt: 2006-2016 BMW F800, F700 F650 Twins Repair Manual ADJUST CHAIN SLACK
- Rotate the rear wheel so that the chain is positioned with the tightest point at the center of its bottom run (see step 6). Support the bike on its side stand.
- Slacken the rear axle nut (see illustration).
- Loosen the locknut on the left and right-hand chain adjusters, then turn both adjusters evenly and a little at a time until the amount of free play specified at the beginning of the Chapter is obtained at the center of the bottom run of the chain (see illustration). If the chain was slack turn the adjusters anticlockwise; if the chain was tight turn them clockwise.
- Following adjustment, check the alignment of the adjuster plates with the index marks on both sides of the swing arm (see illustration 1.12). It is important the plates are in the same position otherwise the rear wheel will be out of alignment with the front (see wheel alignment in Chapter 6). If there is a difference in the positions of the adjuster plates, adjust one so that its position is exactly the same as the other, then check the chain free play again and readjust if necessary.
- When adjustment is complete, counter-hold the adjusters to prevent them turning and tighten the locknuts (see illustration 1.13). Tighten the axle nut to the torque setting specified at the beginning of this Chapter. Recheck the chain adjustment as above.
DRAINING THE SYSTEM FOR OVERHAUL
Draining the brake fluid is again a similar process to bleeding the brakes. The quickest and easiest way is to use a commercially available vacuum-type brake bleeding tool (see illustration). Follow the procedure described above for changing the fluid, but quite simply do not put any fluid into the reservoir.
WHEEL INSPECTION AND REPAIR
- In order to carry out a proper inspection of the wheels, it is necessary to support the bike upright so that the wheel being inspected is up off the ground. Support the motorcycle on its Centre stand or on an axillary stand. Clean the wheels thoroughly to remove mud and dirt that may interfere with the inspection procedure or mask defects. Make a general check of the wheels (see chapter1) and tires(see pre-ride checks).
- Attach a dial gauge to the fork or the swing arm and position its tip against the side of the wheel rim. Spin the wheel slowly and check the axial (side to side) run out of the rim (see Illustration).
- In order to accurately check radial (out of round) run out with the dial gauge, remove the wheel from the machine, and the tire from the wheel. With the axle clamped in a vise and the dial gauge positioned at the top of the rim, the wheel can be rotated to check the run out (see illustration 13.2).
- An easier, though slightly less accurate , method is to attach a stiff wire pointer to the fork or the swing arm and position the end a fraction of an inch from the wheel rim where the wheel and the tire join. If the wheel is true, the distance from the pointer to the rim will be constant as the wheel is rotated.
- If wheel run out is excessive, on F800 GS models with wire spoked wheels, first make sure the spokes are properly tensioned (see Chapter 1). On all models check the wheel bearings. If all is good it may be that a new wheel is needed, but its worth checking with a specialist first.
Subject: 2006, 2007, 2008, 2009, 2010, 2011, 2012, 2013, 2014, 2015, 2016 BMW F800, F700, F650 Twin motorcycle service, maintenance, repair. ISBN-10: 0857339214 | ISBN-13: 9780857339218 | UPC: 699414006915 | Haynes 4872
- Identification numbers
- Buying spare parts
- Pre-ride checks
- Engine oil level
- Brake fluid levels
- Tires
- Bike specs
- Routine maintenance and servicing
- Specifications
- Lubricants and fluids
- Maintenance schedule
- Component locations
- Maintenance procedures
- Engine, clutch and transmission
- Fuel and exhaust systems
- Ignition system
- Frame and suspension
- Brakes, wheels and final drive
- Fairing and bodywork
- Electrical system
- Wiring diagrams
- Tools and workshop tips
- Security
- Storage
- Troubleshooting


