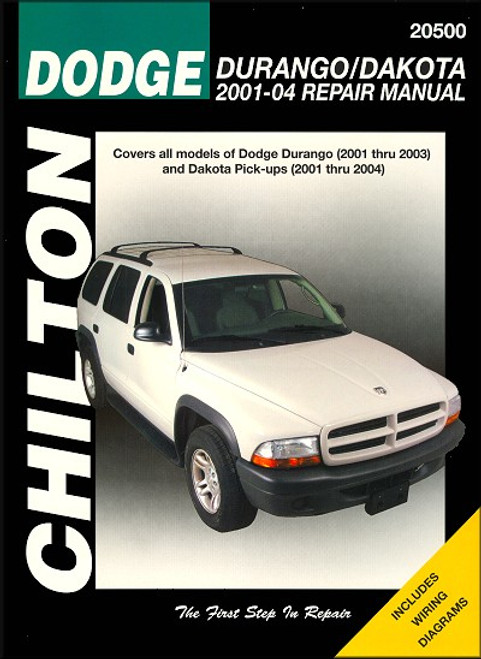
This Chilton repair and service manual covers Dodge Durango 2001-2003 and Dodge Dakota pickup trucks, all models, 2001-2004. Like all Chilton manuals available from The Motor Bookstore, this how-to manual — packed with easy-to-understand instructions accompanied by hundreds of sharp b&w photos and illustrations — is required material for anyone wanting to work on one of these vehicles.
Book Excerpt: 2001-2003 Dodge Durango, 2001-2004 Dakota Pickups Repair Manual 3.7L V6 AND 4.7L V8 ENGINE
SUSPENSION AND STEERING SYSTEMS
Subject: 2001, 2002, 2003, 2004 Dodge Durango, Dakota service, maintenance, repair. ISBN-10: 1563927055 | ISBN-13: 9781563927058 | Chilton 20500
Book Excerpt: 2001-2003 Dodge Durango, 2001-2004 Dakota Pickups Repair Manual 3.7L V6 AND 4.7L V8 ENGINE
OIL PAN REMOVAL AND INSTALLATION
(Refer to illustrations 14.5 and 14.7)
- Disconnect the cable from the negative terminal of the battery.
- Apply the parking brake and block the rear wheels. Raise the front of the vehicle and place it securely on jackstands. Drain the engine oil (see Chapter 1).
- Disconnect the electrical connectors from the oxygen sensors. Unbolt the front Y-pipe from both manifolds, then detach the Y-pipe from the exhaust system (see Chapter 4).
Note: It will be necessary to detach the center exhaust system mount from the transmission and loosen the exhaust pipe clamp to accomplish this task.- Remove the transmission oil cooler lines from the right side of the oil pan.
- Remove the transmission-to-oil pan support brace at the rear of the pan (see illustration).
- Remove the starter (see Chapter 5). Also detach any clips securing the transmission oil cooler lines that would interfere with removal of the oil pan. On 2WD models, remove the intake manifold (see Section 9) and raise the engine with a crane from above to allow enough clearance for the oil pan to be removed from below. On 4WD models, remove the front axle assembly (see Chapter 8).
- Remove the bolts and nuts, noting the stud locations, then carefully separate the oil pan from the block. Don?t pry between the block and the pan or damage to the sealing surfaces and gasket could occur and oil leaks may develop. Instead, tap on the side of the oil pan with a rubber mallet if necessary to break the gasket seal (see illustration).
- Remove the oil pump pick-up tube (see illustrations 15.3a and 15.3b) and detach the oil pan gasket/windage tray from the engine block.
- Clean the oil pan with solvent and remove any gasket material from the block and the pan mating surfaces. Clean the mating surfaces with lacquer thinner or acetone and make sure the bolt holes in the block are clear. Check the oil pan flange for distortion, particularly around the bolt holes. (continued).
SUSPENSION AND STEERING SYSTEMS
POWER STEERING PUMP | REMOVAL AND INSTALLATION FOUR-CYLINDER MODELS
- Remove the drivebelt (see Chapter 1).
- Position a drain pan under the power steering pump, then disconnect the hoses from the pump. Plug the hoses to prevent excessive fluid loss and the entry of contaminants.
- Remove the pump mounting bolts, then loosen the bracket bolts and lift the pump from the engine compartment, being careful not to let any power steering fluid drip on the vehicle?s paint.
- If pulley replacement is required (or if you are installing a new pump and it didn't come with a pulley installed), special tools are required to draw the pulley off and to install it on the shaft (see illustrations 20.10 and 20.13).
- Installation is the reverse of removal. Tighten the pump mounting bolts and mounting bracket bolts to the torque listed in this Chapter?s Specifications. Fill the power steering reservoir with the recommended fluid (see Chapter 1) and bleed the system following the procedure described in the next Section.
Subject: 2001, 2002, 2003, 2004 Dodge Durango, Dakota service, maintenance, repair. ISBN-10: 1563927055 | ISBN-13: 9781563927058 | Chilton 20500
TABLE of CONTENTS:
Introduction: About this manual | Introduction | Vehicle identification numbers | Maintenance techniques, tools and working facilities | Buying parts | Jacking and towing | Booster battery (jump) starting | Conversion factors | Automotive chemicals and lubricants | Safety first! | Troubleshooting
- Tune-up and routine maintenance
- Four-cylinder engine
- 3.6L V6 and 5.2L/5.9L V8 engines
- 3.7L V6 and 4.7L V8 engine
- Engine and overhaul procedures
- Cooling, heating and air-conditioning systems
- Fuel and exhaust systems
- Engine electrical systems
- Emissions control systems
- Manual transmission
- Automatic transaxle
- Transfer case
- Clutch and driveline
- Brakes
- Suspension and steering systems
- Body
- Chassis electrical system
- Wiring diagrams


