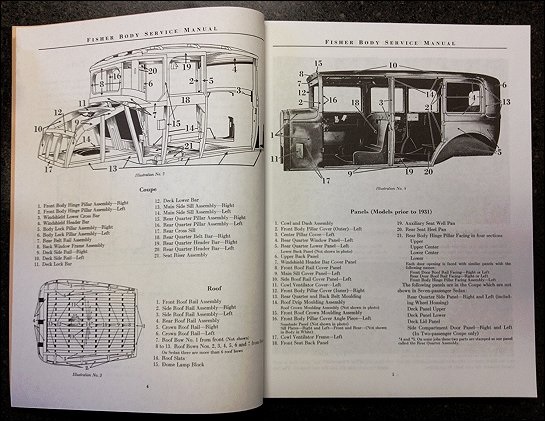
This factory-issued Fisher body manual reprint, covers 1926-1932 GM Cars. This book is the perfect resource for anyone working or restoring a vintage General Motors vehicle. The book starts with the proper names of wood and metal panel parts, then addresses complete body construction and service topics, continuing with upholstery and trim, handling (and fixing) dings on body panels, soldering, welding, glass, noises, and much more. This manual, being an exact reproduction of the original, is printed on acid-free paper. Most of the photos are clear, with a few exceptions, but keep in mind that the original book was produced in the 1930s, a time in which photography was still a fairly new media and quality left a lot to be desired. Still, the great majority of the photos will prove helpful to the do-it-yourself restorer.

Book Excerpt: Fisher Body Service Manual 1926-1932 SPLICING WOOD PARTS

Book Excerpt: Fisher Body Service Manual 1926-1932 SPLICING WOOD PARTS
It is never advisable to splice a body lock pillar or door lock pillar. Careful examination by a competent mechanic can determine whether parts can be spliced or whether their replacement is necessary. Repairing the small wood parts that make up a body, or the splicing of a major assembly, usually is done to avoid such additional work as the extensive removal of panels, or trim or both as would be necessary for a complete replacement. In most instances, a spliced joint will prove just as strong as a replacement part, and will be as much more economical.Subject: Transportation: Automotive: Vintage Car Restoration: 1926-1932 GM cars closed-body service manual by Fisher Body Service Corporation. 1926, 1927, 1928, 1929, 1930, 1931, 1932
MEASURING AND CUTTING Before making a splice, determine the most convenient place to make the cut to avoid unnecessary removal of panels and trim. In the case of rotted wood, make the cut far enough back from the rotted section to be sure the wood where the joint will be made is dry and sound. It is useless to attempt to splice wet or even damp wood. It is a waste to repair unless all unsound wood is cut out. Make the cut taper or wedge shape as shown in Illustration No. 86 with the thought in mind of using at least two wood screws (one from each side) or bolts. Make the cut with a back-saw or cut-off saw, then use the cut away defective portion as a template or guide as shown in illustration No. 87 to cut the lumber to make the splice the correct taper. Leave a little "full" when making the cut, to allow dressing down with a plane. A wood joint when ready for gluing should be as perfect a fit as it is possible to make. When the required measurements have been taken, and the joint found perfect, and the holes bored for the screws, it is ready to be glued and clamped.
GLUING It is very important to use the best material in gluing. A good commercially prepared glue can be used that will give very satisfactory results. Should it be desired to obtain the raw material and make the glue, the following instructions can be followed. Light colored fresh flake animal glue should be used. Put the required amount in a pot and cover with cold water. Soak overnight, then pour off the water and put glue into a clean glue pot, with about an equal quantity of clean water. This will lessen the time required for cooking, and eliminate while cooking any tendency to form in a gummy mass at the bottom of the glue pot. Cook in a double cooker until the glue is thin enough for use (about the consistency of cream). Glue should not be overheated or kept heated when not in use as this will cause it to lose strength. For the best results, an approximate temperature of 80 to 90 degrees is recommended, regardless of make or kind of glue used.


