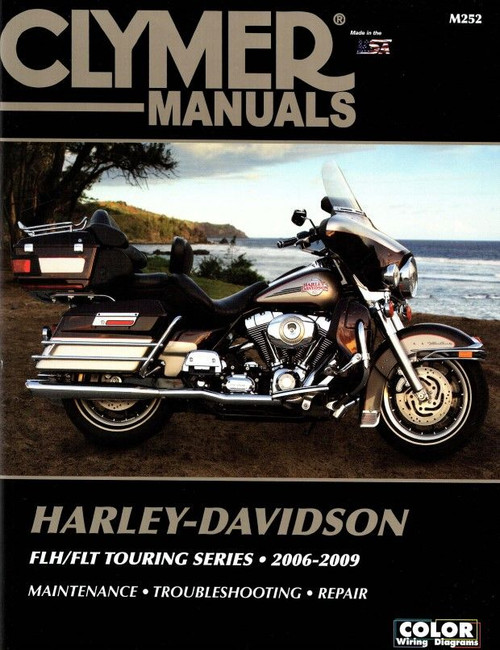
The 2006-2011 Harley-Davidson FXD Dyna Series repair manual by Clymer, covers the following motorcycle models:
Book Excerpt: 2006-2011 Harley-Davidson FXD Dyna Series Repair Manual ENGINE TOP END
ELECTRICAL SYSTEMS
Subject: Transportation: Motorcycles: 2006, 2007, 2008, 2009, 2010, 2011 Harley-Davidson FXD Dyna Series service, maintenance, repair. ISBN-10: 1599695367 | ISBN-13: 9781599695365 | Clymer M254
- Harley FXD Dyna Super Glide 2006-2010
- Harley FXDC Dyna Super Glide Custom 2006-2011
- Harley FXDL Dyna Low Rider 2006-2009, 2010-2011 HDI Japan only
- Harley FXDWG Dyna Wide Glide 2006-2008, 2010-2011
- Harley FXD35 35th Anniversary Super Glide 2006
- Harley FXDB Super Bob 2006-2011
- Harley FXDF Fat Bob 2008-2011
- Harley FXDSE Screamin' Eagle Dyna 2007
- Harley FXDSE2 Screamin' Eagle Dyna 2008
- Harley FXDFSE CVO Dyna Fat Bob 2009
- Harley FXDFSE2 CVO Dyna Fat Bob 2010
Book Excerpt: 2006-2011 Harley-Davidson FXD Dyna Series Repair Manual ENGINE TOP END
ROCKER ARM BUSHING REPLACEMENT Each rocker arm is equipped with two bushings (Figure 46). Replacement bushings must be reamed after installation. Use a rocker arm bushing reamer (JIMS part No. 94804-57) or an equivalent, to ream the replacement bushings. If the correct size reamer is unavailable, have the bushings replaced by a dealership. NOTE: Since the new bushings must be reamed, remove one bushing at a time. The opposite bushing is then used as a guide to ream the first bushing.CAUTION: Only turn the reamer clockwise. Do not rotate the reamer counterclockwise or the reamer and bushing will damaged.
- Press one bushing (Figure 46) out of the rocker arm. Do not remove the second bushing. If the bushing is difficult to remove, perform the following:
- Thread a 9/16 x 18 tap into the bushing.
- Support the rocker arm in a press so the tap is at the bottom.
- Insert a mandrel through the top of the rocker arm and seat it on top of the tap.
- Press on the mandrel to force the bushing and tap out of the rocker arm.
- Remove the tap from the bushing and discard the bushing.
- Position the new bushing with the split portion facing toward the top of the rocker arm.
- Press the new bushing into the rocker arm until the bushing's outer surface is flush with the end of rocker arm bore.
- Ream the new bushing with a bushing reamer as follows:
- Mount the rocker arm in a vise with soft jaws so the new bushing is at the bottom.
ELECTRICAL SYSTEMS
TAIL/BRAKE LIGHT REMOVAL/INSTALLATION
(Refer to Figure 110)
- Remove the plug from the assembly under the rear fender.
- Remove the three screws securing the assembly to the rear fender.
- Lift the tail/brake light assembly off the rear fender and disconnect the 3-pin connector from the assembly.
- Carefully withdraw the two remaining electrical connectors from within the assembly.
- Remove the tail/brake light assembly from the rear fender.
- Move the tail/brake light assembly into position and attach the 3-pin connector.
- Carefully insert the two remaining connectors into the assembly.
- Install the assembly onto the rear fender, making sure the wires are not pinched between the assembly and the rear fender.
Subject: Transportation: Motorcycles: 2006, 2007, 2008, 2009, 2010, 2011 Harley-Davidson FXD Dyna Series service, maintenance, repair. ISBN-10: 1599695367 | ISBN-13: 9781599695365 | Clymer M254
TABLE of CONTENTS:
- General Information
- Troubleshooting
- Lubrication, Maintenance and Tune-up
- Engine
- Clutch and Primary Drive
- Transmission
- Fuel System
- Electrical System
- Wheels, Tires and Hubs
- Front Suspension and Steering
- Rear Suspension
- Brakes
- Body and Frame
- CD with Flowcharts and Color Wiring Diagrams


