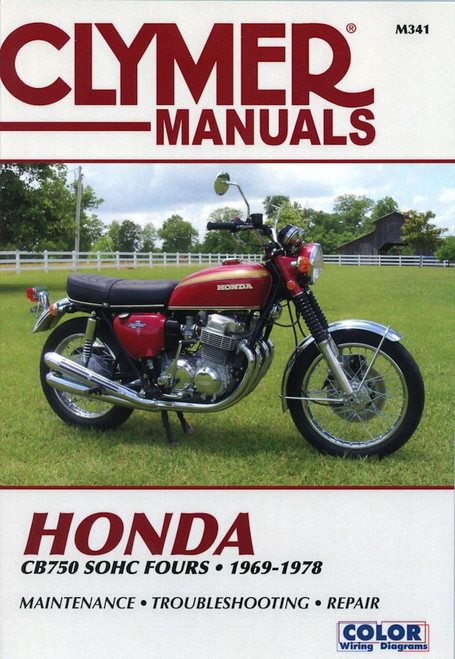
This DIY repair manual by Haynes, covers Honda CB750 Four-Cylinder street motorcycles with Single Overhead Camshaft (SOHC) 736cc engines, including the following models:
- Honda CB750, U.S. 1969-1970
- Honda CB750, U.K. 1970-1971
- Honda CB750K, U.S. 1970-1978
- Honda CB750K, U.K. 1971-1979
- Honda CB750F, U.S. 1974-1978
- Honda CB750F, U.K. 1975-1979
- Honda CB750A Hondamatic, U.S. 1976-1978
Long before it became a household name for its automobiles, the Honda nameplate was synonymous with great motorcycles. Termed by some the "most important machine in the history of motorcycling," the Honda CB750 started out in 1969 as a big and somewhat cumbersome motorcycle with high handlebars that was marketed as an all-round bike. The Honda CB750 SOHC Fours Repair Service Manual 1969-1979 available at The Motor Bookstore can help owners of these classic machines handle DIY maintenance and repair, with details on things like a charging diagram on a 1976 Hondamatic 750 motorcycle and a primer on the ignition system, fuel system, frame and forks, transmission, clutch and engine. This 158-page Haynes manual is packed with photos and diagrams to help you handle repairs and maintenance on your own.
Book Excerpt: 1969-1979 Honda CB750 SOHC Fours Repair Manual FUEL SYSTEM AND LUBRICATION
CARBURETOR REMOVAL
- On earlier models having a separate throttle cable for each carburetor, unscrew each carburetor top and lift out the throttle valve, return spring and needle as a complete assembly. Tape each assembly to an adjacent frame tube, out of harms way. The slides and needles are damaged very easily if this precaution is not observed.
- Later models which have the push-pull throttle cable arrangement require disconnection of the throttle control cables only, from the link lever. In this instance, the carburetors are removed without need to disturb the throttle valve and needle assemblies at this stage.
- Slacken off the clamp nearest to the carburetor on each flexible inlet stub and the clamp which retains each carburetor intake to the air cleaner box. Each series of clamps has a crosshead screw. It will be necessary to pry the intake stub from each carburetor because a lipped fitting is used. When the carburetors are free, they can be withdrawn as a complete in-line unit, still attached to the mounting plate.
FRAME AND FORKS
SPEEDOMETER AND TACHOMETER HEADS
- The Speedometer and tachometer heads are freed quite readily by slackening the chromium-plated clamp around both instruments, so they can be lifted upward. Detach the drive cables at the screwed couplings and unscrew the two crosshead screws which retain the underplate below the instrument, so that the bulb holders can be withdrawn from the base.
- Apart from defects in either part of the drive or drive cables, a speedometer or tachometer which malfunctions is difficult to repair. Fit a replacement or alternatively entrust the repair to a competent instrument repair specialist.
- Remember that a speedometer in correct working order is a statutory requirement in the UK. Apart from this legal necessity, reference to the odometer readings is the most satisfactory means of keeping pace with the maintenance schedules.
SPEEDOMETER AND TACHOMETER DRIVE CABLES | EXAMINATION AND MAINTENANCE
- It is advisable to detach the drive cable(s) from time to time in order to check whether they are lubricated adequately, and whether the outer coverings are damaged or compressed at any point along their run. Jerky or sluggish movements can often be traced to a damaged drive cable.
- For greasing, withdraw the inner cable. After removing all old grease, clean with a gas-soaked rag and examine the cable for broken strands or other damage.
- Regrease the cable with high melting point grease, taking care not to grease the last six inches at the point where the cable enters the instrument head. If this precaution is not observed, grease will work into the head and immobilize the instrument movement.
- If any instrument head stops working suspect a broken drive cable unless the odometer readings continue. Inspection will show whether the inner cable has broken; if so, the inner cable alone can be replaced and re-inserted in the outer casing, after greasing. Never fit a new inner cable alone if the outer covering is damaged or compressed at any point along its run.
Subject: 1969, 1970, 1971, 1972, 1973, 1974, 1975, 1976, 1977, 1978, 1979 Honda CB750 SOHC Four service, maintenance, repair. ISBN-10: 0856965219 | ISBN-13: 9780856965210 | Haynes 131
- Maintenance
- Engine
- Clutch
- Transmission
- Fuel system and lubrication
- Ignition system
- Frame and forks
- Wheels, brakes and tires
- Electrical system
- Wiring diagrams
- The CB750F model
- The CB750F2, K7 and A models


