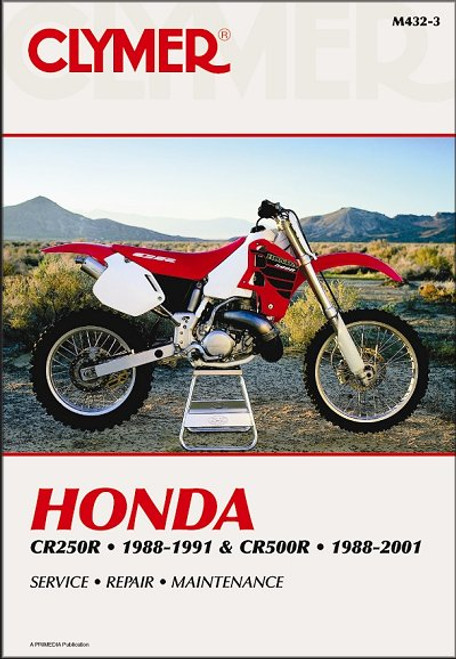
The 1988-2001 Honda CR250R, CR500R motocross bike repair manual by Clymer covers:
- Honda CR250R 1988-1991
- Honda CR500R 1988-2001
Book Excerpt: Honda CR250R 1988-1991, CR500R 1988-2001 Repair Manual REAR SUSPENSION
This chapter includes repair and replacement procedures for the rear wheel and rear suspension components. Tables 1-5 at the end of this chapter provide specifications and tightening torque recommendations.
REAR WHEEL: REMOVAL/INSTALLATION It is not necessary to remove the disc brake or any disc brake components when removing the rear wheel.
- Place the bike's skidplate on a metal or wood stand so the rear wheel will clear the ground.
- If the drive chain will be removed for cleaning or other service, rotate the wheel until the master link is visible. Using a pair of needle-nose pliers, remove the clip at the master link (Figure 1) and remove the master link and chain.
- If the drive chain will not be completely removed, perform Step 4, then slide the wheel forward enough to be remove the chain from the rear sprocket.
- Loosen the axle nut (Figure 2), drive chain adjuster locknuts (A, Figure 3) and drive chain adjusting bolts (B, Figure 3).
- Remove the axle nut and pull the axle through the wheel and swing arm from the left side (Figure 4).
- Remove the wheel.
- Installation is the reverse of these steps while noting the following.
- When sliding the wheel into position, make sure the brake disc slides between the brake pads. Be careful not to damage the pads.
- If the chain retaining clip and master link were removed, install the master link, then install a new clip with the closed end in the direction of wheel rotation (Figure 5).
ENGINE
ENGINE DECARBONIZING CAUTION: Be careful not to damage the exhaust port or the HPP components. Much of the carbon build-up in the cylinder head, on the piston crown (Figure 33) and in the exhaust port of the cylinder can be wiped away with solvent and a shop cloth. Hard carbon deposits can be scraped from the combustion chamber with a dull screwdriver or the end of a hacksaw blade (Figure 34). Be careful not to scar the surface of the head, either in the combustion chamber or along the sealing surface. Small burrs resulting from gouges on the surface of the chamber will create hot spots which can cause pre-ignition and heat erosion. Gouges on the sealing surface can result in combustion chamber leaks.
EXHAUST VALVE DECARBONIZATION Exhaust valve decarbonization is covered in Chapter Six.
REED VALVE ASSEMBLY The engine is equipped with a power reed valve assembly that is installed in the intake port of the cylinder head (Figure 35). Particular care must be taken when handling and repairing the reed valve assembly. A malfunctioning reed valve will cause severe performance loss as well as contributing to early engine failure due to a too-lean fuel mixture.
Subject: 1988, 1989, 1990, 1991, 1992, 1993, 1994, 1995, 1996, 1997, 1998, 1999, 2000, 2001 Honda CR250R, CR500R service, maintenance, and repair procedures. ISBN-10: 0892879009 | ISBN-13: 9780892879007 | Clymer M432-3
TABLE of CONTENTS:
- General Information
- Troubleshooting
- Lubrication, Maintenance and Tune-up
- Engine
- Clutch and External Gearshift Linkage
- Transmission and Internal Shift Mechanism
- Fuel and Emission Systems
- Exhaust System
- Electrical System
- Wheels, Tires and Drive Chain
- Front Suspension and Steering
- Rear Suspension
- Brakes
- Body and Frame
- Wiring Diagrams


