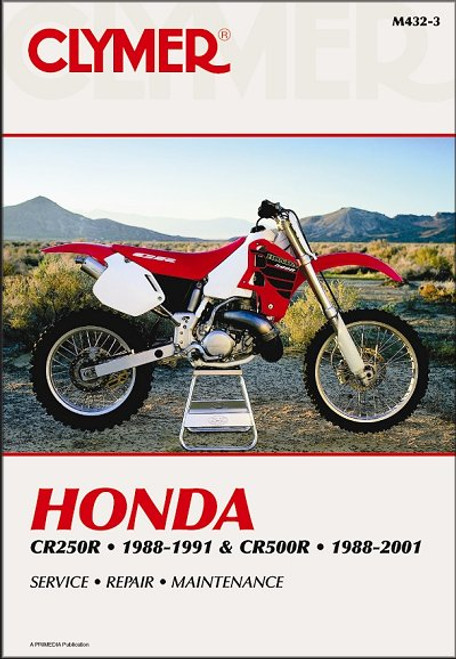
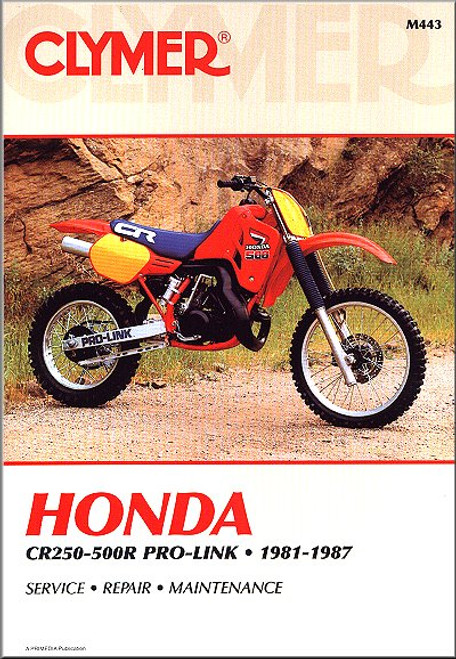
The 1986-2007 Honda CR Motorcross Bikes repair manual by Haynes covers:
Book Excerpt: 1986-2007 Honda CR80/85R/RB, CR125R, CR250R, CR500R Repair Manual ENGINE, CLUTCH AND TRANSMISSION (CR250R AND CR500R MODELS)
BRAKES, WHEELS AND TIRES | CR80R/85R AND CR125R MODELS
Subject: 1986, 1987, 1988, 1989, 1990, 1991, 1992, 1993, 1994, 1995, 1996, 1997, 1998, 1999, 2000, 2001, 2002, 2003, 2004, 2005, 2006, 2007 Honda CR80R, CR80RB, CR85R, CR85RB, CR125R, CR250R, CR500R motocross bikes service, maintenance and repair. ISBN-10: 1563928922 | ISBN-13: 9781563928925 | Haynes 2222
- Honda CR80R, 1986-2002
- Honda CR80RB Expert, 1996-2002
- Honda CR85R, 2003-2007
- Honda CR85RB Expert, 2003-2007
- Honda CR125R, 1986-2007
- Honda CR250R, 1986-2007
- Honda CR500R, 1985-2001
Book Excerpt: 1986-2007 Honda CR80/85R/RB, CR125R, CR250R, CR500R Repair Manual ENGINE, CLUTCH AND TRANSMISSION (CR250R AND CR500R MODELS)
KICKSTARTER | REMOVAL, INSPECTION AND INSTALLATION REMOVAL: PEDAL
(Refer to illustration 15.2)
- The kickstarter pedal is accessible from outside the engine. The kickstarter mechanism can be reached by removing the right crankcase cover (see Section 16).
- To remove the pedal from the shaft, remove the screw and slip the pedal off (see illustration).
- Look for a punch mark on the end of the kickstarter spindle. If you can't see one, make your own to align with the slit in the pedal shaft. Remove the pinch bolt and slide the pedal off the spindle.
KICKSTARTER MECHANISM
(Refer to illustrations 15.6a, 15.6b, 15.7, 15.8a and 15.8b)- Remove the kickstarter pedal (see Step 3 above).
- Remove the right crankcase cover and clutch (Section 12).
- Slip the idler gear off its shaft and remove the idler gear bushing (see illustrations).
- Unhook the spring from the crankcase. Turn the kickstarter mechanism counterclockwise until the ratchet pawl clears the guide, and then pull the kickstarter out of the engine (see illustration).
BRAKES, WHEELS AND TIRES | CR80R/85R AND CR125R MODELS
OVERHAUL
(Refer to illustrations 3.8a, 3.8b, 3.8c, 3.9, 3.10a, 3.10b, 3.14, 3.17a, 3.17b and 3.17c)
- Remove the brake pads and anti-rattle spring from the caliper (see Section 2, if necessary). Clean the exterior of the caliper with denatured alcohol or brake system cleaner.
- If you're working on a CR80R/R85R front caliper, remove the rubber plug and unscrew the bracket pin. Separate the caliper from the bracket and remove the washer (see illustrations).
- If you're working on a CR125R front caliper or any rear caliper, slide the caliper off the bracket (see illustration). One pin will stay in the bracket and the other in the caliper.
- Pack a shop rag into the space that holds the brake pads. Use compressed air, directed into the caliper fluid inlet, to remove the piston(s) (see illustrations). Use only enough air pressure to ease the piston(s) out of the bore. If a piston is blown out forcefully, even with the rag in place, it may be damaged.
Subject: 1986, 1987, 1988, 1989, 1990, 1991, 1992, 1993, 1994, 1995, 1996, 1997, 1998, 1999, 2000, 2001, 2002, 2003, 2004, 2005, 2006, 2007 Honda CR80R, CR80RB, CR85R, CR85RB, CR125R, CR250R, CR500R motocross bikes service, maintenance and repair. ISBN-10: 1563928922 | ISBN-13: 9781563928925 | Haynes 2222
TABLE of CONTENTS:
- Tune-up and routine maintenance
- Engine, clutch and transmission
- Cooling system
- Fuel and exhaust systems
- Ignition system
- Steering, suspension and final drive
- Wheels, brakes and tires
- Frame and bodywork
- Wiring diagrams


