How to Change Brake Pads

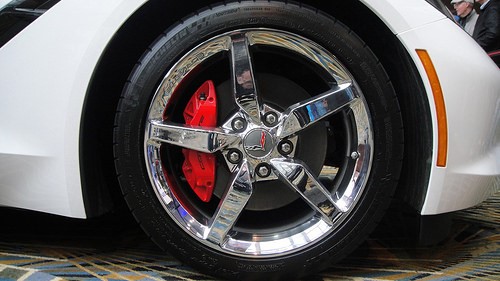
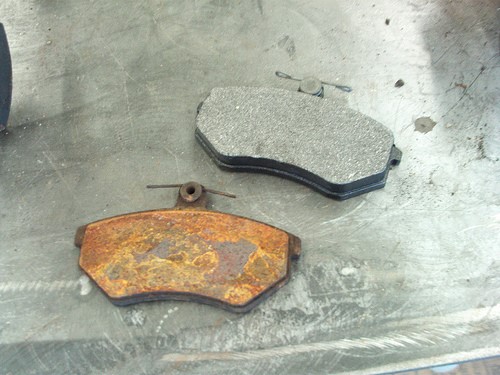
Your vehicle relies on its brake pads to safely bring it to a stop. Basic functionality for disc brakes hinges on steel plates that have friction material attached to their surface and are positioned to face the brake rotor; these are the brake pads and they should be replaced on a fairly regular basis so your braking system continues to perform efficiently and safely. When the pad has worn down to a few millimeters or less, they should be replaced. You will probably know when that time has come by a metallic squealing or grinding sound that you hear when applying the brakes. This sound indicates that the pad wear sensor has started to rub against the rotor, alerting you of its depleted state.
Replacing Brakes
While it's crucial to make sure that you have properly working brake pads, the process of replacing them is not as cumbersome as many might believe. In fact, you can accomplish the job in about an hour and save big-time on the cost of labor incurred by taking it to a mechanic. Doing this yourself does not require specialized tools, either. Most modern cars have front disc brakes, and they usually wear out more quickly than the rear brakes. If you're going to do this yourself, buy a new pair of brake pads, ideally original manufacturer pads, and make sure you have a can of brake fluid that is compatible with the make and model of your vehicle (check your owner's manual).
Tools Needed
Tools that you will need are a lug wrench, jack and jack stands, disposable mechanic's gloves, a C-clamp for retracting the piston, a wrench (either a socket, open-end or adjustable), a turkey baster to draw out the fluid, and something to use as a tie (either a plastic tie, a string or a bungee cord). It's advisable to start and finish the pad on one side before even beginning on the other side.
How do you change your brake pads?

Step 1) First, loosen the lug nuts on the wheel, jack up the car and place a jack stand under the car's frame. Lower the jack so its weight rests on the jack stand, then remove both the lug nuts and the wheel to enable access to the brake assembly and the area under the car.
Step 2) Next, find the two slider bolts or pins that hold the caliper in place. The caliper pivots up once the bottom bolt is removed, and the rubber hose, which is the hydraulic line, will flex to allow this (don't disconnect any hydraulic lines).
Step 3) Now you will slide the worn brake pads, which are now exposed, out.
Step 4) Use the new clips that come with the new pads and dispose of the old ones. The clips simply snap in place and are usually left-handed and right-handed clips. Change them one at a time, and match them up exactly as you proceed. Apply graphite-based grease to the clips to prevent squeaking.
Step 5) Then slide the new pads into place, a process made easier by the application of the grease. Push back the pistons pressing on the brake pads with a C-clamp or plywood in order to clear the new brake pads, which are thicker, and be very careful not to tear the rubber boot and seal encircling the pistons.
Note: When you push the pistons back, the brake fluid level will rise slowly. Open the master cylinder reservoir and check it often. When working on the second brake, the combined fluid volume of two calipers could cause an overflow of brake fluid, so have a baster handy if it looks like this might happen.
Step 6) Slip the caliper over the pads, reinstall and tighten the slider bolt, straighten the car's wheels, remount the tire, tighten the lug nuts, repeat the entire process for the brakes on the other side and then give the car a test drive to make sure the new brake pads feel right on the road.


