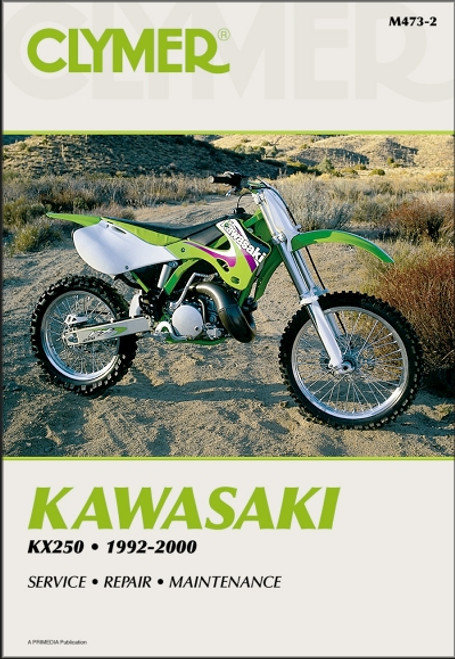
The 1992-2000 Kawasaki KX250 repair manual by Clymer, covers dirtbike models indicated.
If you own a Kawasaki KX250 made in the 1990s and would like to service and maintain the bike yourself without incurring expensive visits to the mechanic, The Motor Bookstore offers the Kawasaki KX250 Repair Manual 1992-2000 published by Clymer. This manual provides the DIY repair person plenty of guidance on changing your brake fluid, replacing the master cylinder piston assembly, removing and installing a transmission, information on clutch and external gearshift linkage, the exhaust and electrical systems, the front and rear suspension and steering, the engine and tips on lubrication and tune-up. You get all this in a 414-page volume replete with hundreds of diagrams and photos to help you undertake repairs on your Kawasaki. Order from The Motor Bookstore and get free shipping to the 48 contiguous United States.
Book Excerpt: 1992-2000 Kawasaki KX250 Repair Manual BRAKE FLUID CHANGE
Every time a master cylinder reservoir cover or cap is removed, a small amount of dirt and moisture enters the brake fluid. The same thing happens if a leak occurs or any part of the hydraulic system is loosened or disconnected. Dirt can clog the system and cause unnecessary wear. Water in the brake fluid can vaporize at high temperature, impairing the hydraulic action and reducing the brake's stopping ability. To maintain peak performance, change the brake fluid every year and when rebuilding a caliper or master cylinder. To change brake fluid, follow the brake bleeding procedure in Chapter Fourteen. WARNING: Use brake fluid clearly marked DOT 3 or DOT 4 only. Others may cause brake failure. Dispose of any unused fluid according to local EPA regulations-never reuse brake fluid. Contaminated brake fluid can cause brake failure.
MASTER CYLINDER CUP AND DUST SEAL REPLACEMENT (FRONT AND REAR) Replace the master cylinder piston assembly if the master cylinder is leaking or at the intervals specified in Table 2. Refer to Chapter Fourteen for instructions.
TRANSMISSION
REMOVAL/INSTALLATION Remove and install the transmission and internal shift mechanism as described under Crankcase Disassembly/ Reassembly in Chapter 5.
TRANSMISSION OVERHAUL Transmission Service Notes:
- After removing the transmission shafts, place one of the shafts into a large can or plastic bucket and clean with solvent. Dry with compressed air or let sit on rags to drip dry. Repeat for the opposite shaft.
- If you have intermixed gears from both shafts (main shaft and countershaft), use the gear ratio information in Table 1 and the transmission illustration (in this chapter) to identify the gears.
- Store the transmission gears, washers and circlips in a divided container, such as an egg carton (Figure 5), to help maintain their correct alignment as you remove them from the transmission shafts.
- Replace all of the transmission circlips during reassembly. Do not reuse circlips, as removal may distort them and cause them to fail.
Subject: 1992, 1993, 1994,1995, 1996, 1997, 1998, 1999, 2000 Kawasaki KX250 service, maintenance, repair. ISBN-10: 0892878673 | ISBN-13: 9780892878673 | Clymer M473-2
- General Information
- Troubleshooting
- Lubrication, Maintenance and Tune-up
- Engine
- Clutch and External Gearshift Linkage
- Transmission and Internal Shift Mechanism
- Fuel and Emission Systems
- Exhaust System
- Electrical System
- Wheels, Tires and Drivetrain
- Front Suspension and Steering
- Rear Suspension
- Brakes
- Body and Frame
- Wiring Diagrams


