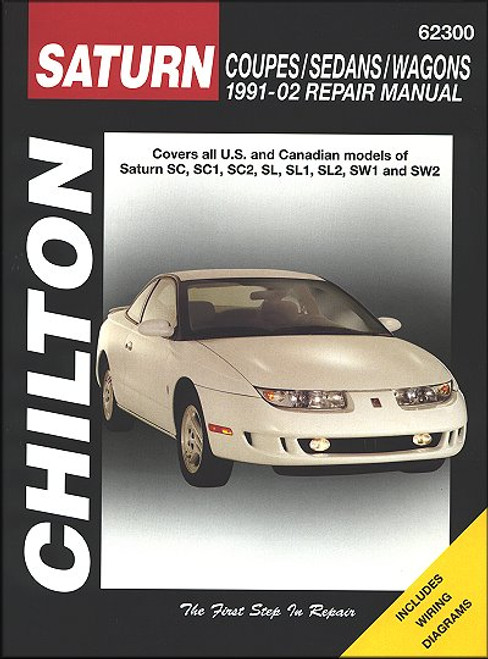
This repair manual by Chilton Manuals, covers all models of 1991-2002 Saturn cars, U.S. and Canadian, including:
Book Excerpt: 1991-2002 Saturn Coupe, Sedan, Wagon Repair and Service Manual ENGINES
HOOD: REMOVAL, INSTALLATION AND ADJUSTMENT Refer to illustration 9.1
Subject: 1991, 1992, 1993, 1994, 1995, 1996, 1997, 1998, 1999, 2000, 2001, 2002 Saturn SC, SC1, SC2, SL, SL1, SL2, SW1, and SW2 service, maintenance, repair. ISBN-10: 156392563X | ISBN-13: 9781563925634
- Saturn SC | Saturn SC1 | Saturn SC2
- Saturn SL | Saturn SL1 | Saturn SL2
- Saturn SW1 | Saturn SW2
Book Excerpt: 1991-2002 Saturn Coupe, Sedan, Wagon Repair and Service Manual ENGINES
FLYWHEEL/DRIVEPLATE: REMOVAL, INSPECTION, INSTALLATION Refer to illustration 15.3 REMOVAL
- Remove the transaxle (see Chapter 7).
- If you?re working on a model with a manual transaxle, remove the pressure plate and clutch disc (see Chapter 8). Now is a good time to check/replace the clutch components.
- Use a center-punch or paint to make alignment marks on the flywheel/driveplate and crankshaft to ensure correct alignment during installation (see illustration).
- Remove the bolts that secure the flywheel/driveplate to the crankshaft. If the crankshaft turns, wedge a screwdriver in the ring gear teeth to jam the flywheel.
- Remove the flywheel/driveplate from the crankshaft. Since the flywheel is fairly heavy, be sure to support it while removing the last bolt.
- Clean the flywheel to remove grease and oil. Inspect the surface for cracks, rivet grooves, burned areas and score marks, Light scoring can be removed with emery cloth. Lay the flywheel on a flat surface and use a straightedge to check to warpage. If necessary, take the flywheel to an automotive machine shop to have it resurfaced.
- Clean and inspect the mating surfaces of the flywheel/driveplate and the crankshaft. If the crankshaft rear seal is leaking, replace it before reinstalling the flywheel/driveplate.
HOOD: REMOVAL, INSTALLATION AND ADJUSTMENT Refer to illustration 9.1
NOTE: The hood is heavy and somewhat awkward to remove and install. At least two people should perform this procedure. REMOVAL AND INSTALLATION
- Make marks around the bolt heads to ensure proper alignment during installation (see illustration).
- Use blankets or pads to cover the cowl area of the body and fenders. This will protect the body and paint as the hood is lifted off.
- Disconnect any cables or wires that will interfere with removal.
- Have an assistant support the hood. Remove the hinge-to-hood bolts.
- Lift off hood.
- Installation is the reverse of removal. ADJUSTMENT Refer to illustrations 9.10 and 9.11
- Fore-and-aft and side-to-side adjustment of the hood is done by removing the hinge plate slot after loosening the belts.
- Scribe or draw a line around the bolt heads and the entire hinge plate so you can judge the amount of movement (see illustration 9.1).
- Loosen the bolts and move the hood into correct alignment. Move it only a little at a time. Tighten the hinge bolts or nuts and carefully lower the hood to check the position.
- If necessary after installation, the entire hood latch assembly can be adjusted up-and-down as well as from side-to-side on the radiator support so the hood closes securely, flush with the fenders. To make the adjustment, scribe a line around the hood latch mounting bolts to provide a reference point, then loosen them and reposition the latch assembly, as necessary (see illustration). Following adjustment, retighten the mounting bolts.
- Finally, adjust the hood bumpers on the radiator so the hood, when closed, is flush with the fenders (see illustration).
Subject: 1991, 1992, 1993, 1994, 1995, 1996, 1997, 1998, 1999, 2000, 2001, 2002 Saturn SC, SC1, SC2, SL, SL1, SL2, SW1, and SW2 service, maintenance, repair. ISBN-10: 156392563X | ISBN-13: 9781563925634
TABLE of CONTENTS:
Introductory Pages: About this manual | Introduction | Vehicle identification numbers | Buying parts | Maintenance techniques, tools and working facilities | Jacking and towing | Booster battery (jump) starting | Conversion factors | Fraction/decimal/millimeter equivalents | Automotive chemicals and lubricants | Safety first! | Troubleshooting
- Tune-up and routine maintenance
- Engines; General engine overhaul procedures
- Cooling, heating and air-conditioning systems
- Fuel and exhaust systems
- Engine electrical systems
- Emissions and engine control systems
- Manual transaxle, automatic transaxle
- Clutch and driveaxles
- Brakes
- Suspension and steering systems
- Body
- Chassis electrical system; Wiring diagrams


