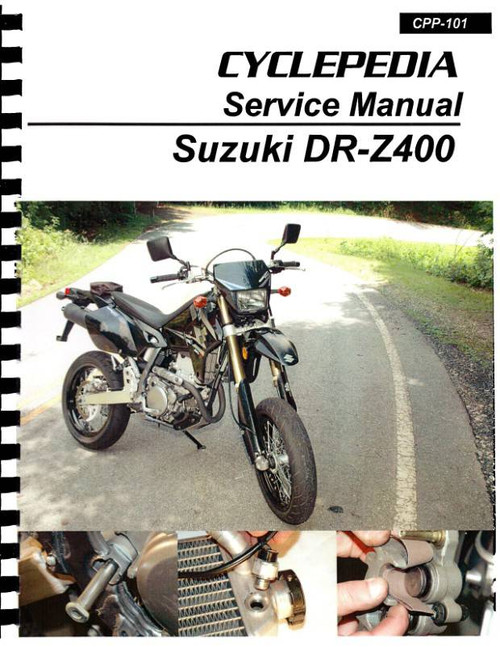
The 2000-2010 Suzuki DR-Z400 DIY repair manual by Haynes, covers the following models:
Book Excerpt: 2000-2010 Suzuki DR-Z400, DR-Z400E, DR-Z400S, DR-Z400SM Repair Manual PISTON RINGS | INSTALLATION
STEERING, SUSPENSION AND FINAL DRIVE
Subject: 2000, 2001, 2002, 2003, 2004, 2005, 2006, 2007, 2008, 2009, 2010 Suzuki DR-Z400 off-road bike service, maintenance, repair. ISBN-10: 1563929333 | ISBN-13: 9781563929335 | Haynes 2933
- Suzuki DR-Z400 (Kick Start), 2000-2005
- Suzuki DR-Z400E (Electric Start), 2000-2009
- Suzuki DR-Z400S 2000-2010
- Suzuki DR-Z400SM 2005-2010
Book Excerpt: 2000-2010 Suzuki DR-Z400, DR-Z400E, DR-Z400S, DR-Z400SM Repair Manual PISTON RINGS | INSTALLATION
- Before installing the new piston rings, the ring end gaps must be checked.
- Insert the top (No. 1) ring into the bottom of the first cylinder and square it up with the cylinder walls by pushing it in with the top of the piston. The ring should be about one-half inch above the bottom edge of the cylinder. To measure the end gap, slip a feeler gauge between the ends of the ring (see illustration) and compare the measurement to the Specifications.
- If the gap is larger or smaller than specified, double check to make sure that you have the correct rings before proceeding.
- If the gap is too small, it must be enlarged or the ring ends may come in contact with each other during engine operation, which can cause serious damage. The end gap can be increased by filing the ring ends very carefully with a fine file (see illustration). When performing this operation, file only from the outside in.
- Repeat the procedure for the second compression ring (ring gap is not specified for the oil ring rails or spacer).
- Once the ring end gaps have been checked/corrected, the rings can be installed on the piston.
- The oil control ring (lowest on the piston) is installed first. It is composed of three separate components. Slip the spacer into the groove, then install the upper side rail (see illustrations). Do not use a piston ring installation tool on the oil ring side rails as they may be damaged. Instead, place one end of the side rail into the groove between the spacer expander and the ring land. Hold it firmly in place and slide a finger around the piston while pushing the rail into the groove (taking care not to cut your fingers on the sharp edges). Next, install the lower side rail in the same manner.
STEERING, SUSPENSION AND FINAL DRIVE
HANDLEBARS | REMOVAL AND INSTALLATION
- These motorcycles use a one-piece handlebar, secured to the upper triple clamp by upper and lower brackets. On all except DR-Z400SM models, the lower brackets are integral with the upper triple clamp. The SM lower brackets are secured to the upper triple clamp by mounting posts, which are threaded on the bottom and secured to the upper triple clamp by nuts.
- Before removing the handlebars, look for a punch mark indicating the position of the handlebar in the brackets and another one indicating which end of the bracket faces forward (see illustration). Make your own mark if you can't see one.
- If the handlebars must be removed for access to other components, such as the forks or the steering head, remove the bracket bolts (see illustration) and lift off the brackets and remove the handlebar. It's not necessary to disconnect the cables, wires or hoses, but it is a good idea to support the assembly with a piece of wire or rope, to avoid unnecessary strain the cables, wires and (on the right side) the brake hose.
- Check the handlebar for cracks and distortion and replace it if any undesirable conditions are found.
- Installation is the reverse of removal, with the following additions:
- If you removed the lower brackets from a DR-Z400SM model, tighten the bracket nuts to the torque listed in this Chapter's Specifications.
- Tighten all four bracket bolts evenly to one-half of the torque listed in this Chapter's Specifications. Then tighten the forward bolt on each bracket to the torque listed in this Chapter's Specifications, then tighten the rear bolts to the specified torque. This will leave a gap at the rear of the bracket (see illustration). Don't try to close the gap by tightening the bolts further or the brackets will break.
Subject: 2000, 2001, 2002, 2003, 2004, 2005, 2006, 2007, 2008, 2009, 2010 Suzuki DR-Z400 off-road bike service, maintenance, repair. ISBN-10: 1563929333 | ISBN-13: 9781563929335 | Haynes 2933
TABLE of CONTENTS:
LIVING WITH YOUR SUZUKI DR-Z400 MOTORCYCLE
- Identification numbers
- Buying spare parts
- Pre-ride checks
- Engine oil level
- Brake fluid levels
- Tires
- Bike specs
- Routine maintenance and servicing
- Specifications
- Lubricants and fluids
- Maintenance schedule
- Component locations
- Maintenance procedures
- Engine, clutch and transmission
- Cooling system
- Fuel and exhaust systems
- Ignition and electrical systems
- Wiring diagrams
- Tools and workshop tips
- Security
- Storage
- Troubleshooting


