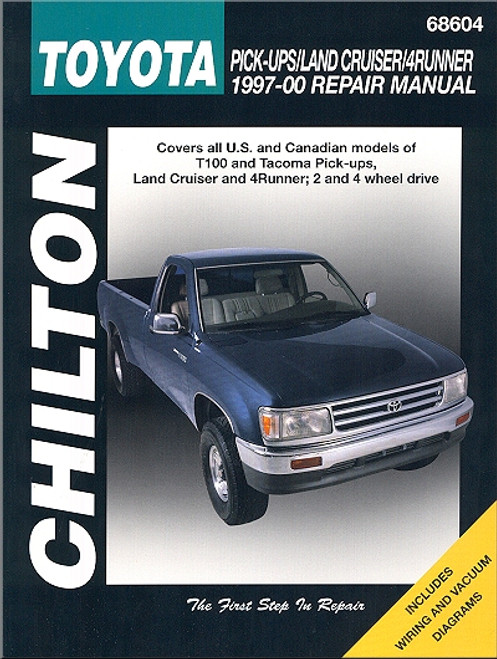
This DIY repair and service manual by Chilton, covers 1989-1996 Toyota pickup trucks and SUVs, including the following models:
Book Excerpt: 1989-1996 Toyota Tacoma, T100, Land Cruiser, 4Runner Repair Manual ENGINE ELECTRICAL
SUSPENSION AND STEERING
Subject: 1989, 1990, 1991, 1992, 1993, 1994, 1995, 1996 Toyota Tacoma, T100, Land Cruiser, 4Runner service, maintenance, repair. ISBN-10: 0801986826 | ISBN-13: 9780801986826 | Chilton 68602
- Toyota Tacoma
- Toyota T100
- Toyota Land Cruiser
- Toyota 4Runner
Book Excerpt: 1989-1996 Toyota Tacoma, T100, Land Cruiser, 4Runner Repair Manual ENGINE ELECTRICAL
IGNITER REMOVAL AND INSTALLATION (See Figures 10, 11, 12 and 13) Igniters are mounted in one of two places on your Toyota truck. On the remotely mounted coils, the igniter is secured to the fenderwell.
- Disconnect the negative battery cable.
- Separate the wiring harness connections.
- Unbolt the igniter.
- If mounted to the coil, loosen the nut holding the wire lead.
- Tag and disconnect the wire lead.
- Lift the igniter off its mount.
TO INSTALL:- Mount the igniter to the bracket.
- Attach the wire lead to the coil if used.
- Connect the harness.
- Connect the negative battery cable.
DISTRIBUTOR REMOVAL (See Figures 14 thru 19)
- Unfasten the retaining clips or remove the retaining screws and lift the distributor cap straight off. It will be easier to install the distributor if the wiring is left connected to the cap. If the wires must be removed from the cap, mark their positions to aid in installation. Note: Set cylinder No. 1 to TDC of the compression stroke. For all engines except 22R-E, set the timing mark at 0. On 22R-E, set the timing mark at 5 degrees.
- Remove the dust cover and mark the position of the rotor relative to the distributor body; then mark the position of the body relative to the block.
- Disconnect and tag any wires and the vacuum lines.
- Remove the pinch-bolt and lift the distributor straight out, away from the engine. The rotor and body are marked so that they can be returned to the position from which they were removed. Do not turn or disturb the engine (unless absolutely necessary, such as for engine rebuilding), after the distributor has been removed. The relationship between the position of the distributor and the position of the engine is critical if the spark is to be sent to the proper place at the proper time.
- Remove the distributor O-ring, discard and install a new one. Apply a light coat of engine oil on the O-ring.
SUSPENSION AND STEERING
SHOCK ABSORBERS REMOVAL AND INSTALLATION (See Figures 13 through 18)
- Remove the hubcap and loosen the lug nuts.
- Raise front of the truck and support it with safety stands.
- Remove the wheel.
- Unfasten the double nuts at the top end of the shock absorber. Remove the cushions and cushion retainers.
- Remove the 2 bolts which secure the lower end of the shock absorber to the lower control arm.
- Remove the shock absorber.
- Install the shock absorber, and then tighten the lower mounting nuts/bolt to 13 ft. lbs. (18 Nm) on all models except the 1996 4Runner. On the 1996 4Runner, tighten to 101 ft. lbs. (135 Nm). Tighten the upper mounting nut to 18 ft. lbs. (25 Nm).
Subject: 1989, 1990, 1991, 1992, 1993, 1994, 1995, 1996 Toyota Tacoma, T100, Land Cruiser, 4Runner service, maintenance, repair. ISBN-10: 0801986826 | ISBN-13: 9780801986826 | Chilton 68602
TABLE of CONTENTS:
Introduction: About this manual | Introduction | Vehicle identification numbers | Maintenance techniques, tools and working facilities | Buying parts | Jacking and towing | Booster battery (jump) starting | Conversion factors | Automotive chemicals and lubricants | Safety first! | Troubleshooting
- Tune-up and routine maintenance
- Engine and overhaul procedures
- Cooling, heating and air-conditioning systems
- Fuel and exhaust systems
- Engine electrical systems
- Emissions control systems
- Transmission
- Brakes
- Suspension and steering systems
- Body
- Chassis electrical system
- Wiring diagrams


