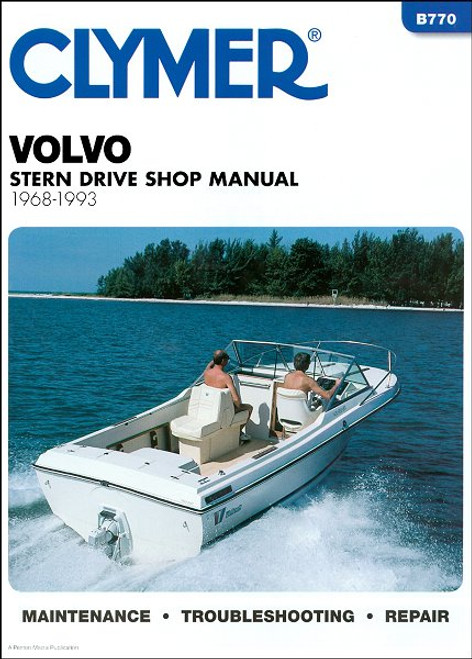
This Seloc repair manual covers 1992-1993 Volvo Penta stern drive OHC and DOHC, standard single propeller engines. Step-by-step illustrated keyed procedures guide you through every conceivable job possible, including all adjustments necessary. Perfect for do-it-yourselfers, professional mechanics, or students.
Book Excerpt: 1992-1993 Volvo Penta Stern Drive OHC, DOHC Repair Manual CRANKSHAFT AND MAIN BEARINGS
STERN DRIVE
Subject: 1992, 1993 Volvo Penta Stern Drive service, maintenance, repair. ISBN-10: 0893300381 | ISBN-13: 9780893300388
Book Excerpt: 1992-1993 Volvo Penta Stern Drive OHC, DOHC Repair Manual CRANKSHAFT AND MAIN BEARINGS
CHECKING MAIN BEARING CLEARANCE Plastigage is soluble in oil, therefore, clean the crankshaft journal thoroughly of all traces of oil. With engine held in the bottom-up position, turn the crankshaft until the oil hole is down to avoid getting oil on the Plastigage. Whenever the crankshaft is rotated with the rear bearing cap removed, hold the oil seal to prevent it from rotating out of position in the crankcase. Place paper shims in the upper half of adjacent bearings and tighten the cap bolts to take the weight off of the shell of the bearing being checked. Place a piece of Plastigage lengthwise along the bottom center of the lower bearing shell, and then install the cap with the shell and tighten the bolt nuts to a torque valve given in the Specifications in the Appendix. Remove the bearing cap and measure the flattened Plastigage at its widest point using the scale printed on the Plastigage envelope. The number within the graduation which most closely corresponds to the width of the Plastigage indicates the bearing clearance in thousandths of an inch. Under normal service conditions, main bearing journals will wear evenly and are seldom found to be out-of-round. However, if a bearing is being fitted to an out-of-round journal (0.001" maximum) to sure to fit the bearing to the maximum diameter of the journal.
STERN DRIVE
INTERMEDIATE HOUSING | CLEANING AND INSPECTING Discard all gaskets and O-rings. Replacement of these items with NEW ones will help to ensure satisfactory service after the work is completed. Clean all parts with solvent and blow them dry with compressed air. Check all mating surfaces to be sure they are clean and free of any old gasket material or sealing compound. Clean the oil strainer screen thoroughly and blow it dry with compressed air. Blow all water, oil passageways, and screw hole, clean with compressed air. After all parts are clean and dry, apply a light coating of engine oil to the bright surfaces of all bearings and shafts as a prevention against rusting. Inspect the latch pawls for excessive wear. Check the area where the pawl makes contact with the tilt rod for any "mushroom" condition or roundness. Excessive wear in this area would not allow the pawl to function properly. The stern drive would kick upward when the unit was shifted into REVERSE gear and the throttle advanced. Check the housing for cracks, or other damage. Check the needle bearing set for galling, and to be sure they all rotate freely in the cage.
ASSEMBLING
- Clamp the reverse latch mechanism body in a vise equipped with soft jaws. Slide the push rod onto the stop shaft. Slide the reverse lever onto the stop shaft on the same side and also onto the rotation boss on the bearing sleeve. Check to be sure the push rod passes the shift lever, as shown. Push the connecting rod through the one reverse lever.
- Slide the other reverse lever onto the other end of the stop shaft with the connecting rod passing through and the lever indexed over the rotation boss on the bearing sleeve.
Subject: 1992, 1993 Volvo Penta Stern Drive service, maintenance, repair. ISBN-10: 0893300381 | ISBN-13: 9780893300388
TABLE of CONTENTS:
- General information
- Tools and equipment
- Boating safety
- Engine tune-up
- Engine disassembly and reassembly
- Fuel system
- Ignition system
- Electrical system
- Cooling system
- Drive unit
- Tilt and trim systems
- Engine specs
- Torque specs
- Maintenance and off-season storage
- Wiring diagrams


