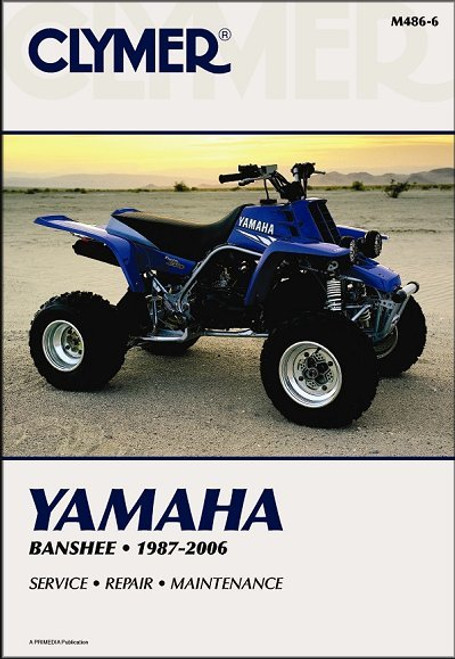
The 1988-2006 Yamaha Blaster YFS200 ATV repair manual by Haynes, covers models indicated.
Book Excerpt: 1988-2006 Yamaha Blaster YFS200 Repair Manual TUNE-UP AND ROUTINE MAINTENANCE
STEERING, SUSPENSION AND FINAL DRIVE
Subject: 1988, 1989, 1990, 1991, 1992, 1993, 1994, 1995, 1996, 1997, 1998, 1999, 2000, 2001, 2002, 2003, 2004, 2005, 2006 Yamaha Blaster YFS200 service, maintenance, repair. ISBN-10: 1563926881 | ISBN-13: 9781563926884 | Haynes 2317
Book Excerpt: 1988-2006 Yamaha Blaster YFS200 Repair Manual TUNE-UP AND ROUTINE MAINTENANCE
TRANSMISSION OIL CHANGE
(Refer to illustration 4.9)
- Perform Step 4 above, and then stop the engine.
- Place a clean pan under the transmission drain plug (see illustration). Remove the plug. While the oil is draining, check the condition of the drain plug threads and the sealing washer.
- After all the old oil has drained, install the drain plug with its sealing washer and tighten it to the torque listed in this Chapter's Specifications.
- Before refilling the transmission, check the old oil carefully. If the oil was drained into a clean pan, small pieces of metal or other material can be easily detected. If the oil is very metallic colored, then the transmission is experiencing wear from break-in (new parts) or from insufficient lubrication. If there are flakes or chips of metal in the oil, then something is drastically wrong internally and the engine will have to be disassembled for inspection and repair.
- If there are pieces of fiber-like material in the oil, the clutch is experiencing excessive wear and should be checked.
- If the inspection of the oil turns up nothing unusual, refill the transmission to the proper level with the recommended oil and install the filler cap.
- Start the engine and let it run for two or three minutes. Shut it off, wait a few minutes, and then check the oil level in the inspection window. If necessary, add more oil to bring the level up to the upper level mark on the window. Check around the drain plug for leaks.
STEERING, SUSPENSION AND FINAL DRIVE
SWINGARM | REMOVAL AND INSTALLATION
- If the swingarm is being removed just for bearing replacement, the brake assembly, rear hub and rear axle need not be removed from the swingarm.
REMOVAL
(Refer to illustrations 10.8a and 10.8b)- Raise the rear end of the vehicle and support it securely on jackstands.
- Remove the rear wheels (see Chapter 6).
- Support the swingarm so it won't drop, then refer to Section 4 and detach the lower end of the shock absorber from the swingarm. If you're planning to remove the shock completely, do it now.
- Disconnect the rear brake cable (see Chapter 6).
- Remove the master link and take the drive chain off the sprockets (see Section 12).
Subject: 1988, 1989, 1990, 1991, 1992, 1993, 1994, 1995, 1996, 1997, 1998, 1999, 2000, 2001, 2002, 2003, 2004, 2005, 2006 Yamaha Blaster YFS200 service, maintenance, repair. ISBN-10: 1563926881 | ISBN-13: 9781563926884 | Haynes 2317
TABLE of CONTENTS:
- Introduction to the Yamaha YFS200
- Buying parts
- Identification numbers
- Maintenance techniques, tools and working facilities
- ATV chemicals and lubricants
- Troubleshooting
- Engine, clutch and transmission
- Fuel system and lubrication
- Ignition and electrical systems
- Steering, suspension and final drive
- Wheels, brakes and tires
- Wiring diagrams


