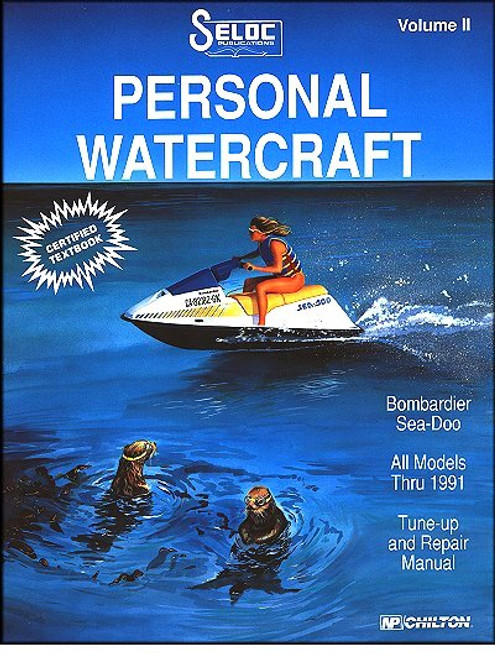
This repair manual covers 1987-1991 Yamaha Personal Watercraft, including the following models:
Book Excerpt: 1987-1991 Yamaha Jet-N-Cat, Aqua-Jet, SOS TideRider, Fazer, Faze II, Scram Jet, WetJet Repair Manual TYPE "A" CARBURETOR
ELECTRICAL
Subject: 1987, 1988, 1989, 1990, 1991 Yamaha Jet-N-Cat, Aqua-Jet, SOS TideRider, Fazer, Faze II, Scram Jet, WetJet service, maintenance, repair. ISBN-10: 0893300349 | ISBN-13: 9780893300340 | Seloc 9600
- Yamaha Jet-N-Cat
- Cuyuna-powered craft
- Aqua-Jet
- SOS TideRider
- Fazer
- Faze II
- Scram Jet
- WetJet
Book Excerpt: 1987-1991 Yamaha Jet-N-Cat, Aqua-Jet, SOS TideRider, Fazer, Faze II, Scram Jet, WetJet Repair Manual TYPE "A" CARBURETOR
CARBURETOR INSTALLATION
- Place a new carburetor mounting gasket over the intake manifold studs. Slide the cable mounting bracket over the studs with the cable supports on the outside, followed by another new mounting gasket. Place the carburetor over the mounting studs.
- Place a lock washer over each of the two carburetor mounting studs. Raise the carburetor slightly on the studs until enough clearance exists to start the two mounting nuts. Tighten the nuts securely.
- Position the flame arrestor screen over the lower cover. Install the top cover and secure the two halves together with the four Phillips head screws.
- Connect the three hoses to the carburetor. If the hoses were not marked as directed in Step 2 of disassembling, proceed as follows: Locate the disconnected vacuum hose leading from the crankcase. Connect this hose to the vacuum fitting on the first fuel pump body -- the fitting mid-way in the fuel pump. Locate the disconnected hose leading from the in-line fuel filter mounted on the engine compartment wall. Connect this fuel line to the fuel fitting on the third fuel pump body -- the outermost fitting on the pump. See illustration 19A. Locate the third and last disconnected hose leading from the fuel tank. Connect this hose to the fuel fitting on the carburetor body. See illustration 19B. Install new sta-straps at all three hose connections.
- Slide both the throttle and choke cables into their respective slots in the cable mounting bracket. Tighten the two nuts on each cable to secure the cables to the bracket. If the throttle cable must be fitted into a curved guide, hook the cable end into the guide before sliding the cable into the slot in the mounting bracket. If either the throttle or choke cable end was secured in a small barrel pivoted on the linkage, pass the cable end through the barrel until the mark, made in Step 1 of disassembling, is up against the barrel.
ELECTRICAL
CRANKING MOTOR TROUBLESHOOTING Before wasting too much time troubleshooting the cranking motor circuit, the following checks should be made. Many times, the problem will be corrected.The following troubleshooting procedures are presented in a logical sequence, with the most common and easily corrected areas listed first in each problem area. The connection number refers to the numbered positions in the accompanying illustrations. Perform the following quick checks and corrective actions for following problems:
- Battery fully charged.
- Main 10-amp fuse is "good" (not blown).
- All electrical connections clean and tight.
- Wiring in good condition, insulation not worn or frayed.
CRANKING MOTOR ROTATES SLOWLY
- Battery charge is low. Charge the battery to full capacity.
- Electrical connections corroded or loose. Clean and tighten.
- Defective cranking motor. Perform an amp draw test. Lay an amp draw gauge on the cable leading to the cranking motor. Turn the key on or depress the START button and attempt to crank the engine. If the gauge indicates an excessive amperage draw, the cranking motor must be replaced or rebuilt.
Subject: 1987, 1988, 1989, 1990, 1991 Yamaha Jet-N-Cat, Aqua-Jet, SOS TideRider, Fazer, Faze II, Scram Jet, WetJet service, maintenance, repair. ISBN-10: 0893300349 | ISBN-13: 9780893300340 | Seloc 9600
TABLE of CONTENTS:
- Description and operation
- Safety
- Tuning
- Maintenance
- Troubleshooting
- Fuel system
- Iignition system
- Engine
- Electrical system
- Jet pump
- Control adjustments
- Wiring diagrams


