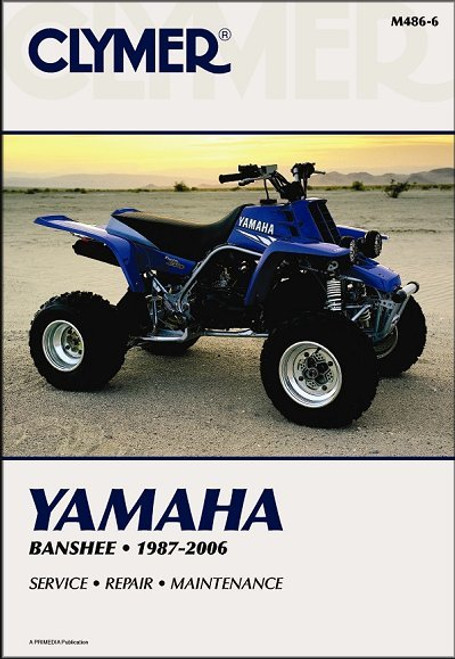
The 1988-2006 Yamaha YFS200 Blaster ATV repair manual by Clymer, covers the following models:
- Yamaha YFS200U, 1988
- Yamaha YFS200W, 1989
- Yamaha YFS200A, 1990
- Yamaha YFS200B, 1991
- Yamaha YFS200D, 1992
- Yamaha YFS200E, 1993
- Yamaha YFS200F, 1994
- Yamaha YFS200G, 1995
- Yamaha YFS200H, 1996
- Yamaha YFS200J, 1997
- Yamaha YFS200K, 1998
- Yamaha YFS200L, 1999
- Yamaha YFS200M, 2000
- Yamaha YFS200N, 2001
- Yamaha YFS200P, 2002
- Yamaha YFS200R, 2003
- Yamaha YFS200S, 2004
- Yamaha YFS200, 2005
- Yamaha YFS200, 2006
Book Excerpt: 1988-2006 Yamaha YFS200 Blaster Repair Manual LUBRICATION, MAINTENANCE AND TUNE-UP
IGNITION TIMING Ignition timing is not adjustable on the YFS200 engine. The stator plate (Figure 39) position is fixed to the crankcase (the mounting screw holes are not slotted for adjustment).
CONTROL CABLE LUBRICATION This section describes complete lubrication procedures for the brake, clutch, throttle cable and lever assemblies.
CLUTCH AND BRAKE LEVER | PIVOT BOLT LUBRICATION Periodically, remove the clutch and brake lever pivot bolts at the handlebar and lubricate the bolts with 10W-30 motor oil. Reinstall the pivot bolts and nuts and tighten securely. Make sure the lever pivots smoothly without binding or roughness.
CLUTCH, KICKSTARTER AND EXTERNAL SHIFT MECHANISM
CLUTCH PUSH LEVER The clutch pus lever is installed in the left crankcase (Figure 60). REMOVALINSPECTION
- Loosen the clutch cable adjuster at the handlebar (Figure 59).
- Disconnect the clutch cable (Figure 61) from the clutch push lever.
- Remove the clutch push lever (A, Figure 62), spring and washer from the crankcase.
- Clean and dry the clutch push lever assembly (Figure 63).
- Inspect the clutch push lever and replace it if excessively worn or damaged.
- Inspect the flat washer and spring (Figure 63) and replace if damaged.
- Inspect the clutch push lever seal and needle bearing installed in the right crankcase (Figure 60).
NOTE THE FOLLOWING:
- To replace the seal, refer to Crankcase Seal Replacement in Chapter Five.
- To replace the needle bearing, remove the engine from the frame (Chapter Five). Then pull the bearing out of the crankcase with a blind bearing remover.
- Clean the bearing bore, then press the new bearing in until it bottoms in the crankcase bearing bore. Install the bearing with its manufacturer's marks facing out.
Subject: 1988, 1989, 1990, 1991, 1992, 1993, 1994, 1995, 1996, 1997, 1998, 1999, 2000, 2001, 2002, 2003, 2004, 2005, 2006 Yamaha YFS200 Blaster service, maintenance, repair. ISBN-10: 1620923327 | ISBN-13: 9781620923320 | Clymer M488-5
TABLE of CONTENTS:
- General Information
- Troubleshooting
- Lubrication, Maintenance and Tune-up
- Engine
- Clutch and External Gearshift Linkage
- Transmission and Internal Shift Mechanism
- Fuel and Emission Systems
- Exhaust System
- Electrical System
- Wheels, Tires and Drivetrain
- Front Suspension and Steering
- Rear Suspension
- Brakes
- Body and Frame
- Wiring Diagrams


